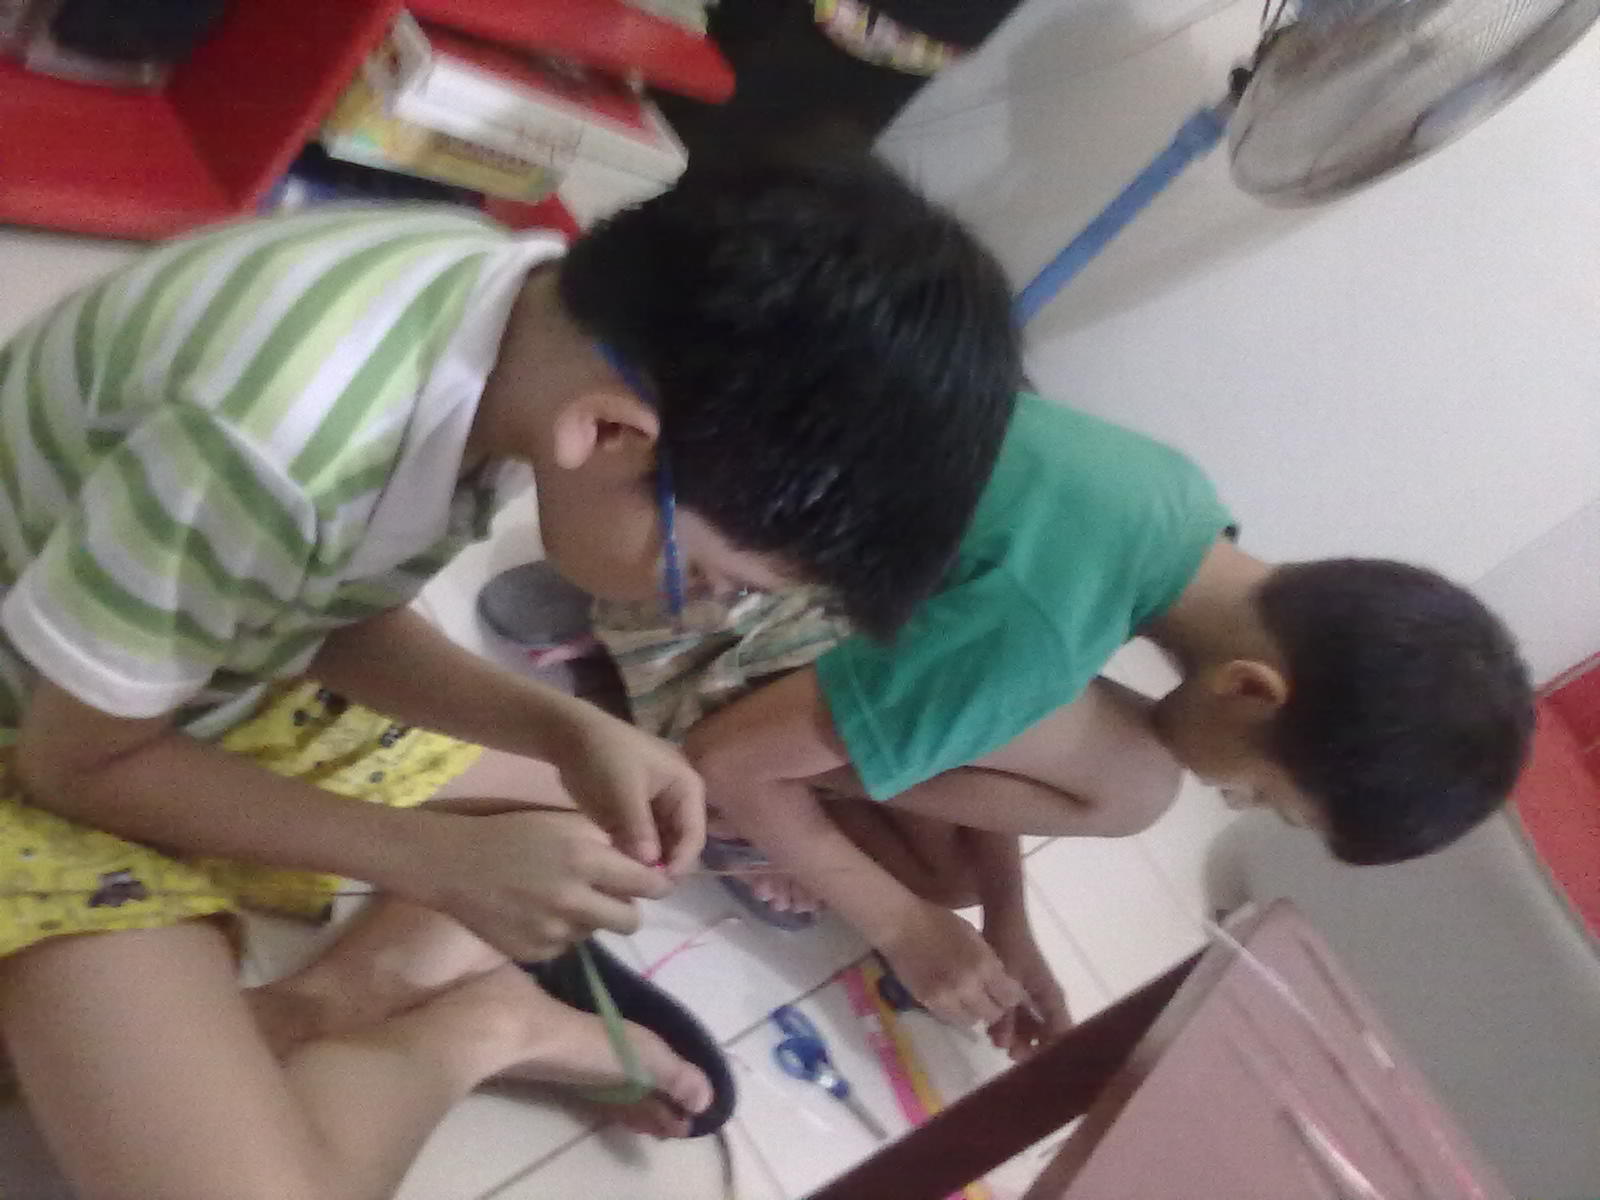
Firstborn taught this mother to make accessories using a paper. Curious at first, Second son tried a few pieces until he joined us in firstborn’s project making activity. After a few hours, we congratulated ourselves for a job well done! That afternoon, we were able to make some decent paper necklace and bracelet.
Paper necklace and bracelet materials
- colored magazine pages
- scissors
- glue
- walis tingting
- string garter
- necklace hook
Paper necklace and bracelet steps
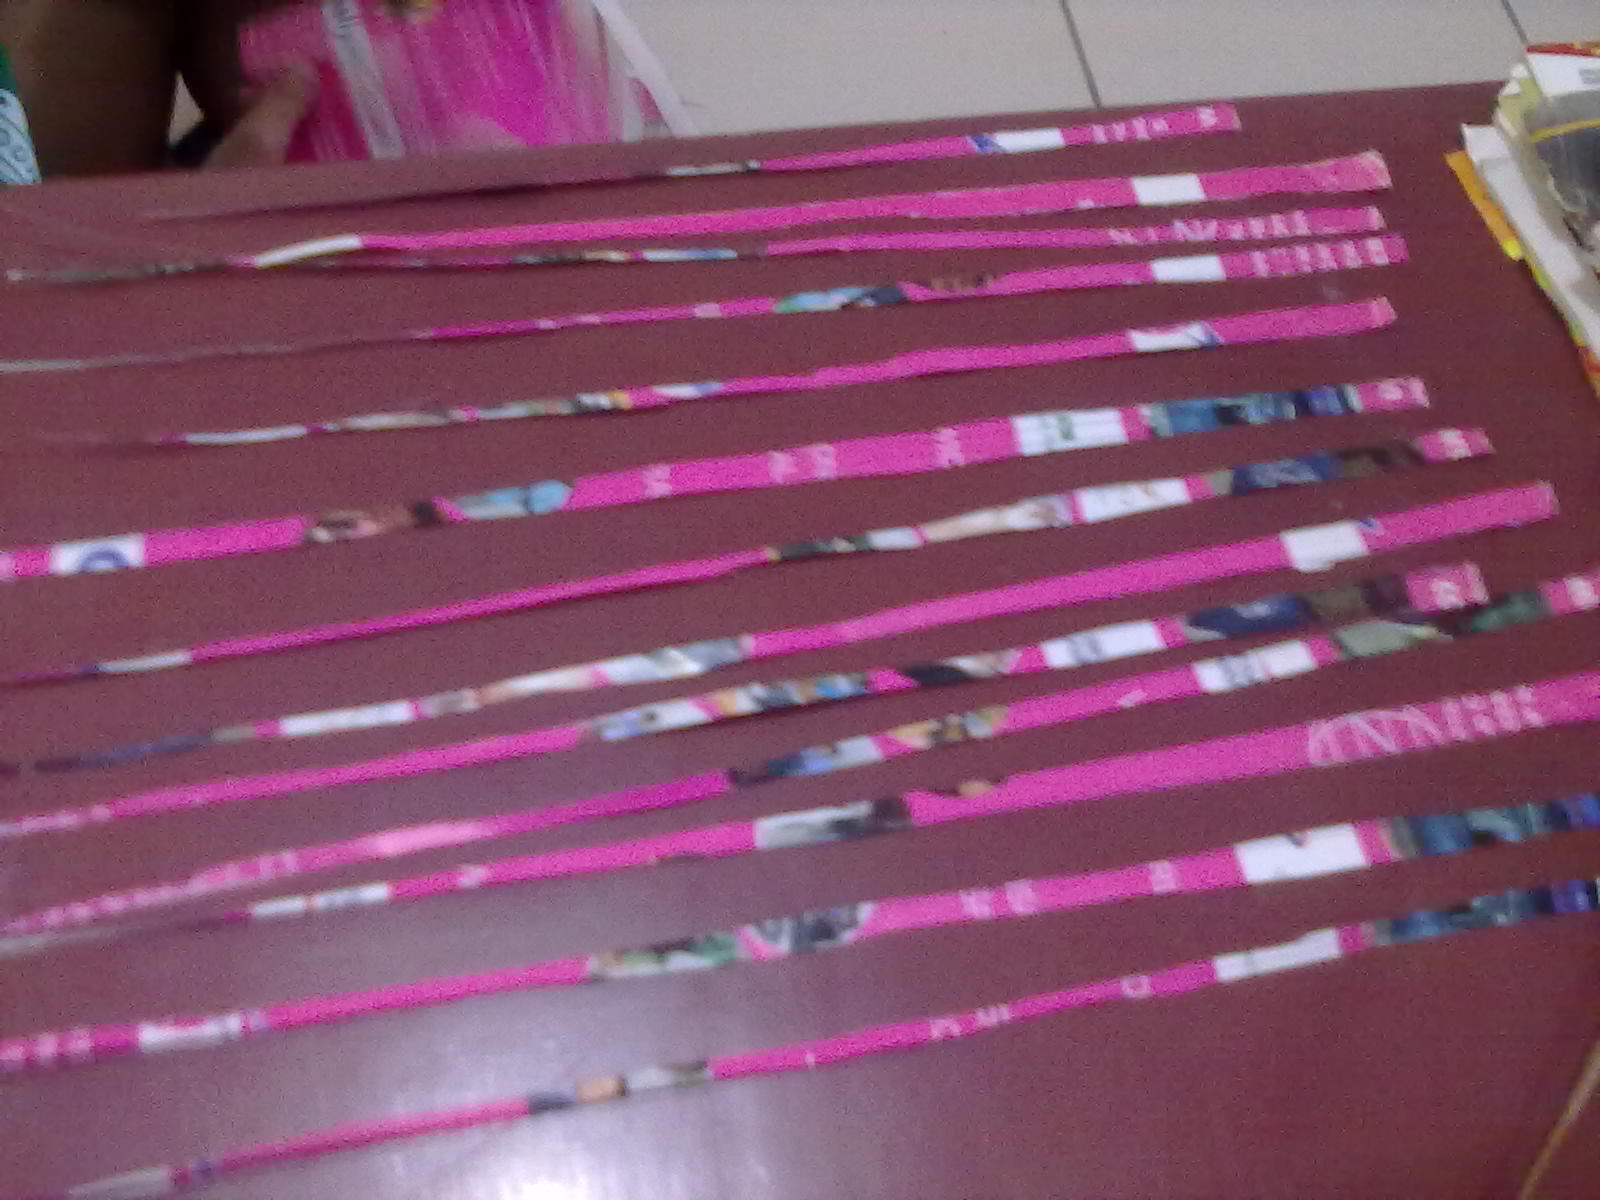
1. Cut magazine in long strips with one end pointed and the other one wide.
Firstborn was so careful in everything that he even marked the paper to guide him in his cutting.
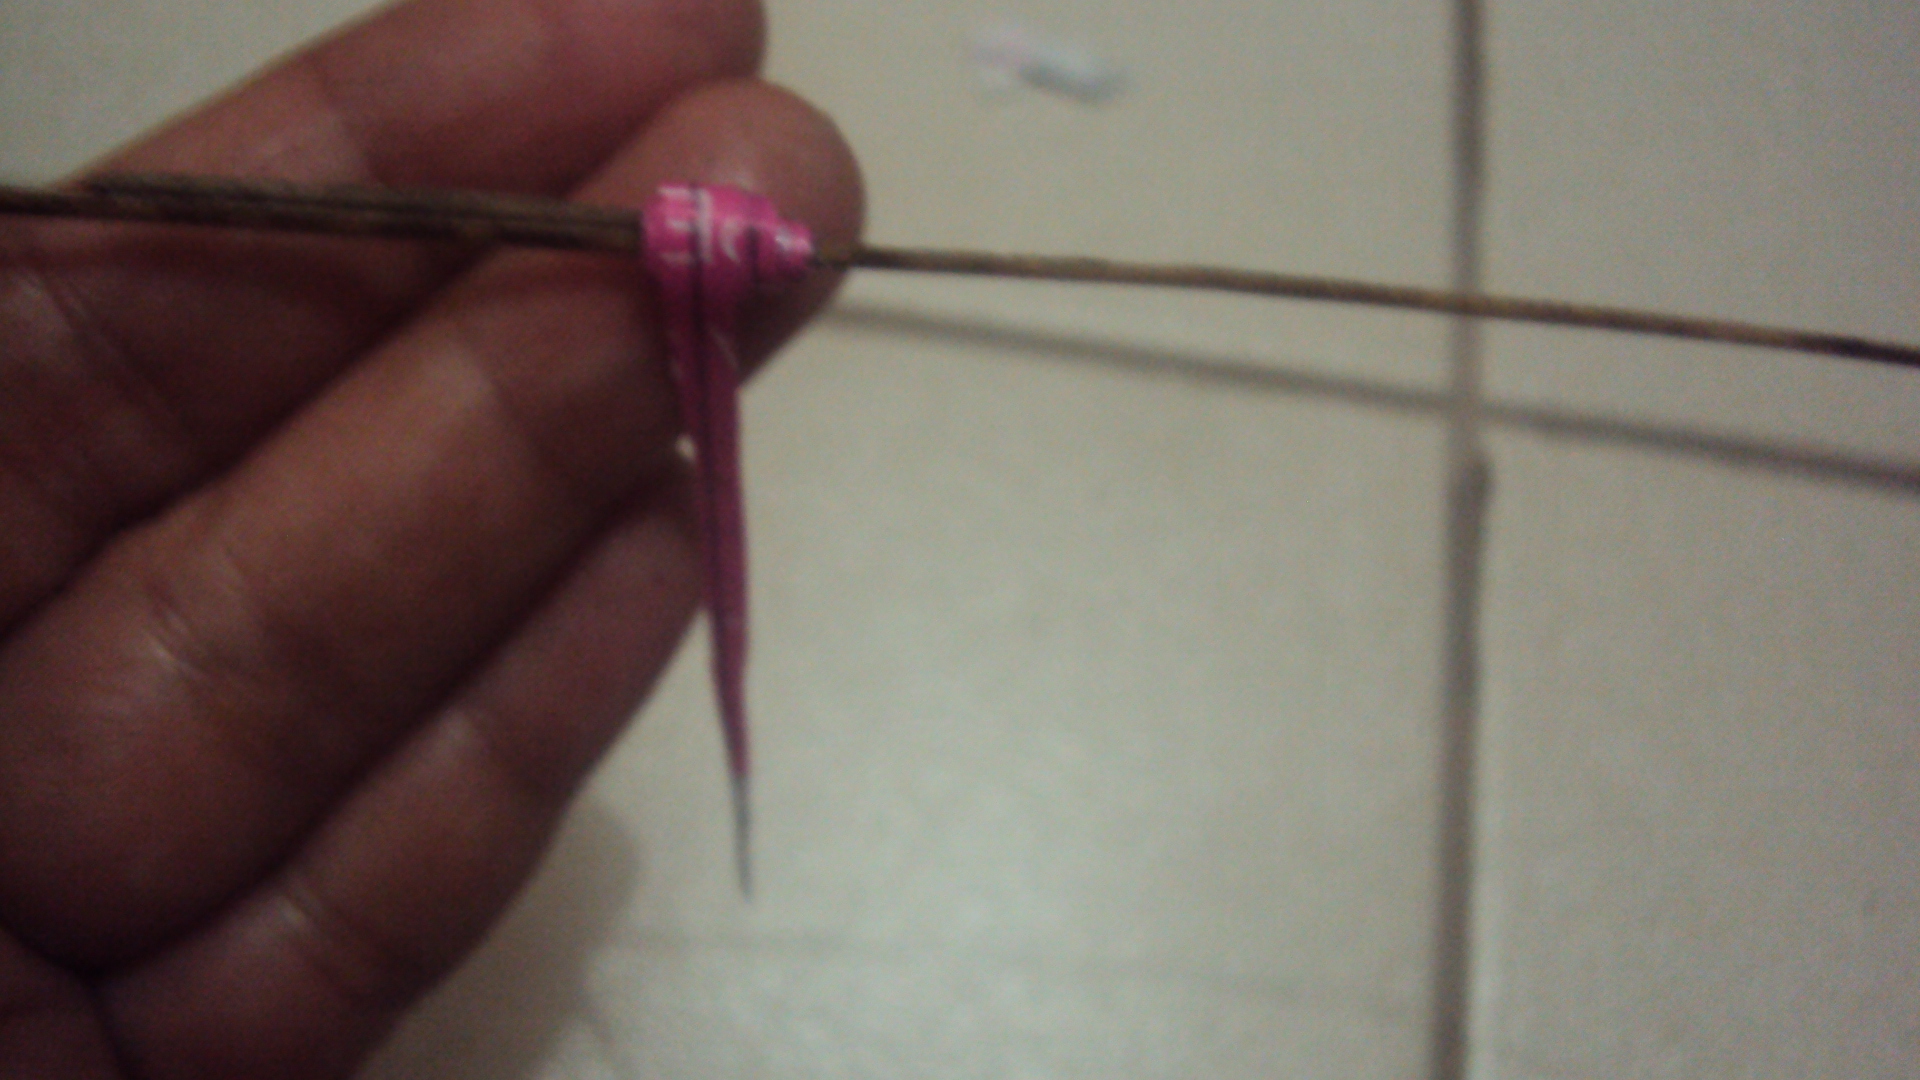
2. Roll the wider side of the paper in a walis tingting. Dab glue to make it stick.
Again, dab a small amount of glue at the end of the paper for a tidy finish.
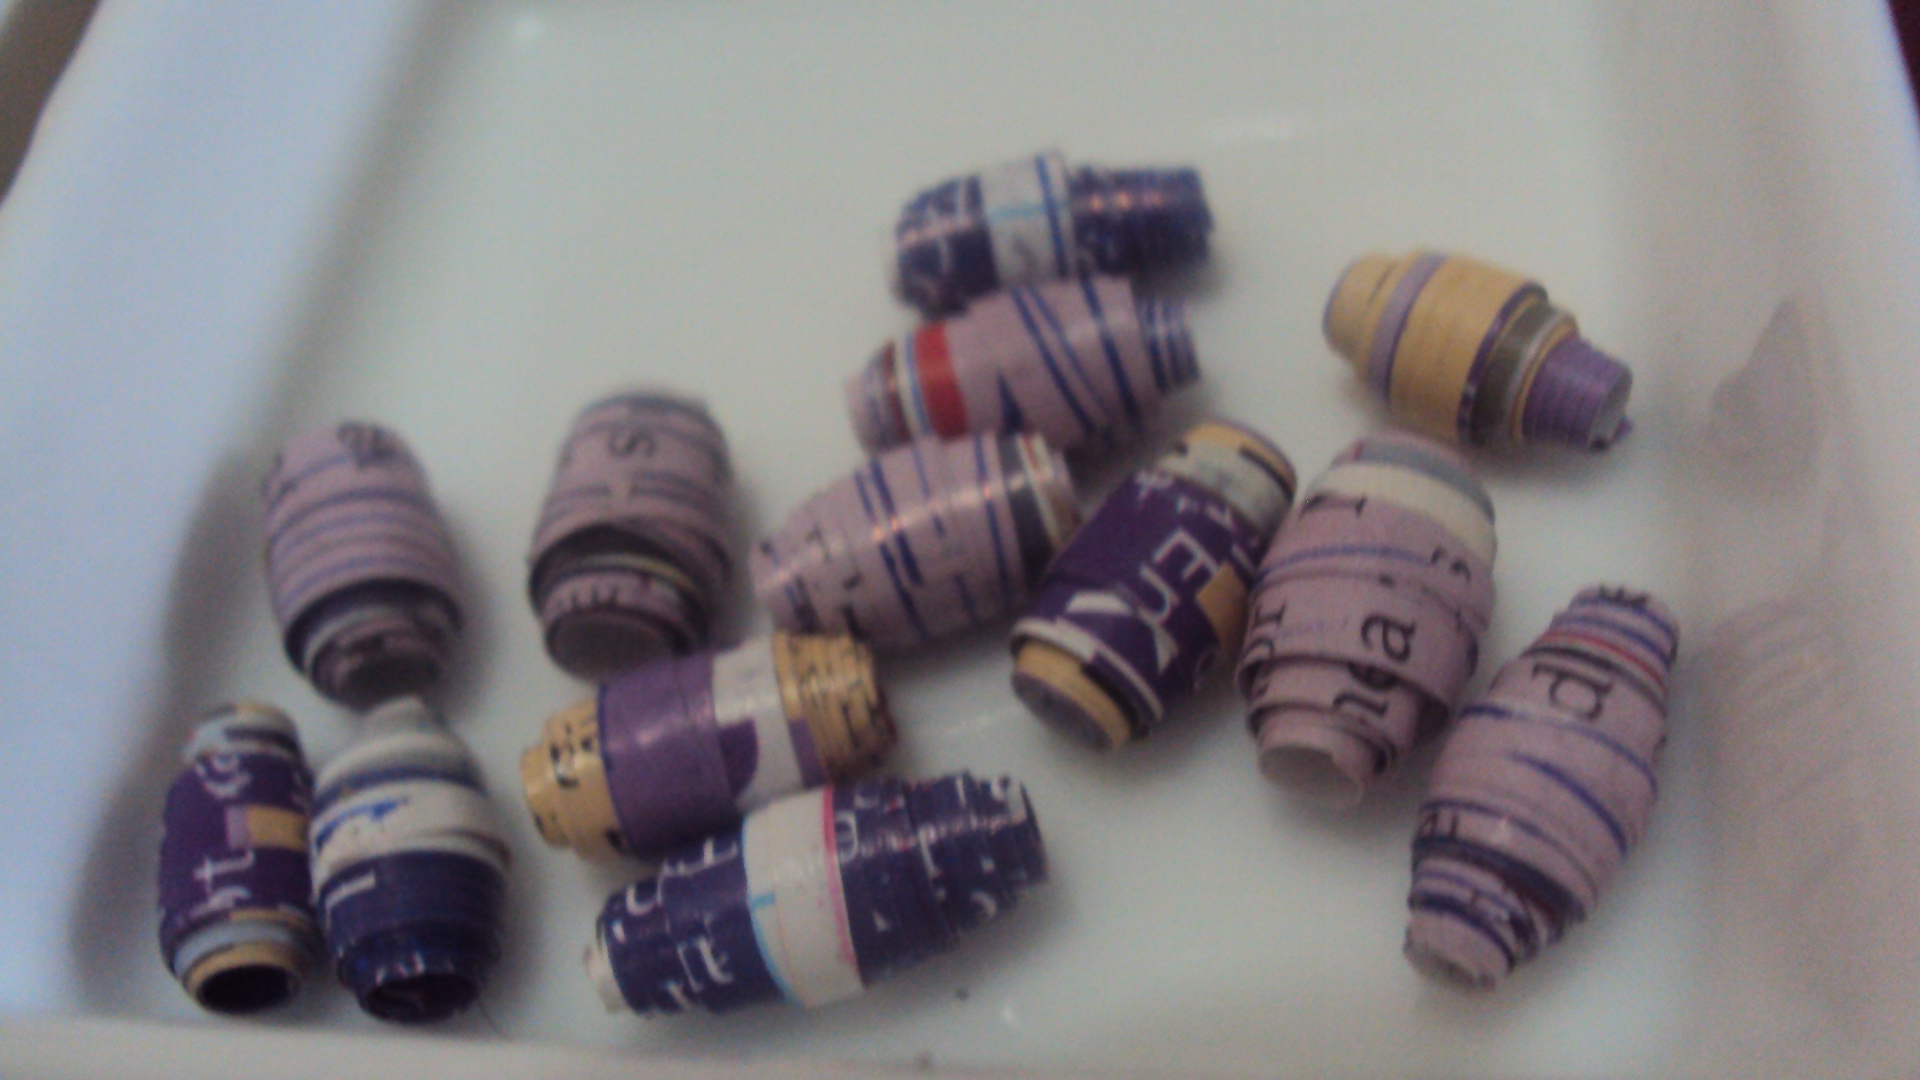
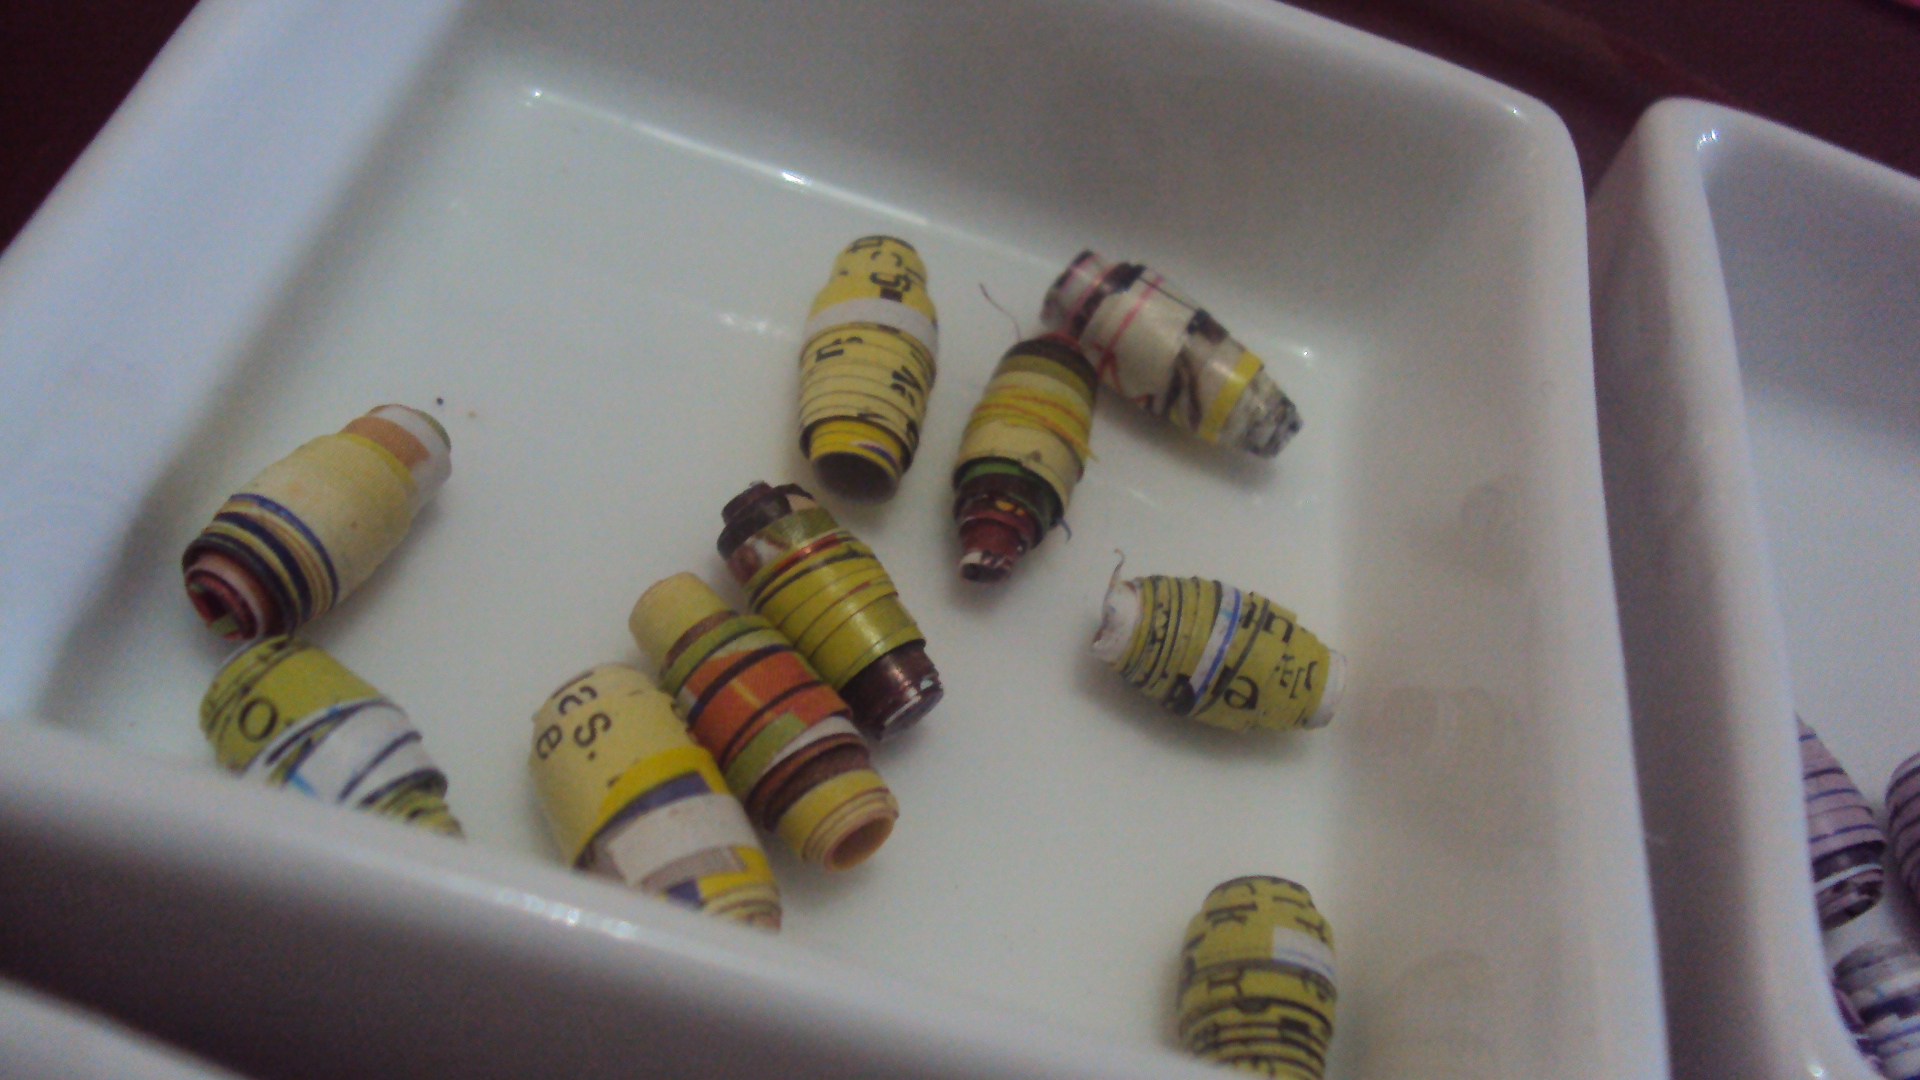
3. Slide the paper beads off the walis tingting. Do as many paper beads as you can or depending on the desired length of your paper bracelet and necklace. We have estimated a six-inch worth of beads for a seven -inch wrist. For the necklace, we just doubled the number.
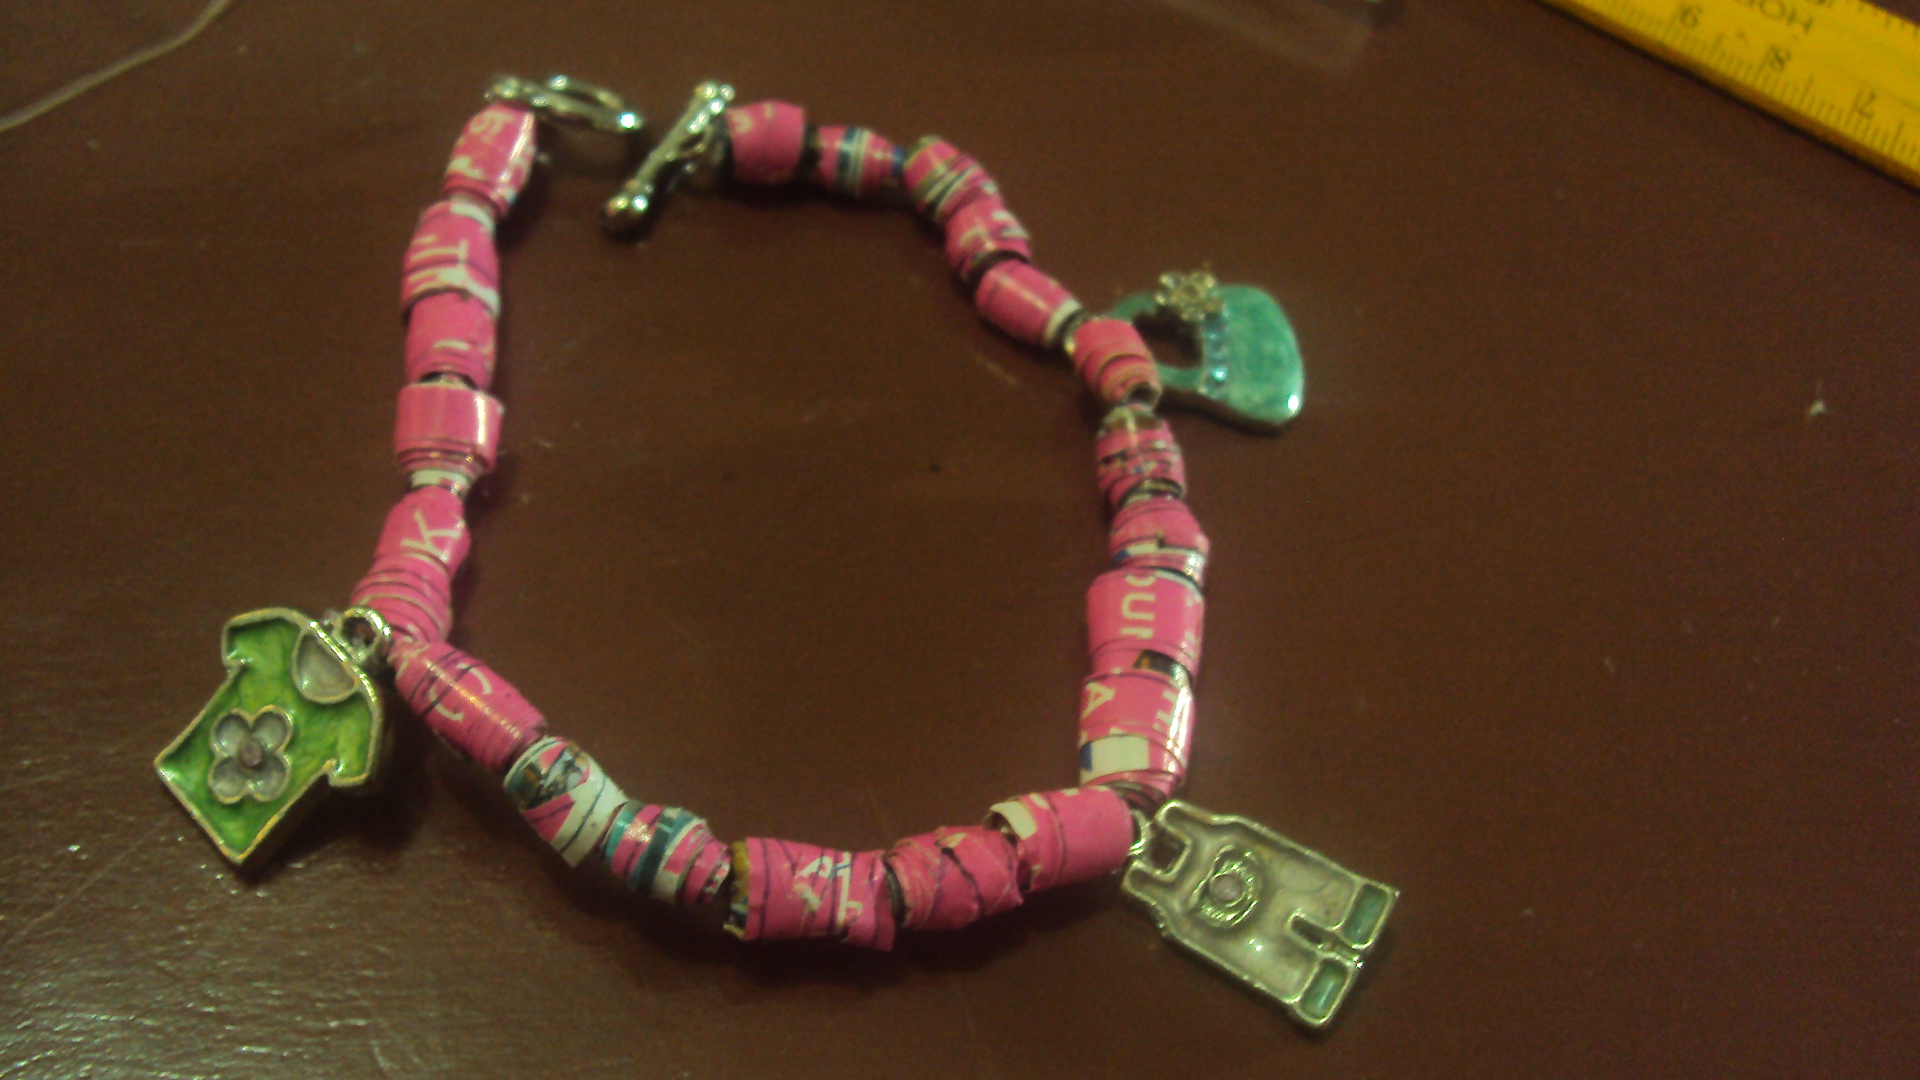
4. Lay out your design. Then start stringing the beads. We started at the other end of the hook until filled with paper beads. Then we added a few little charms to add character. Firstborn’s teacher warned his students not to use any plastic or metal beads. small pendants though are ok.
5. Coat the beads with colorless nail polish to seal it up and give them some shine.
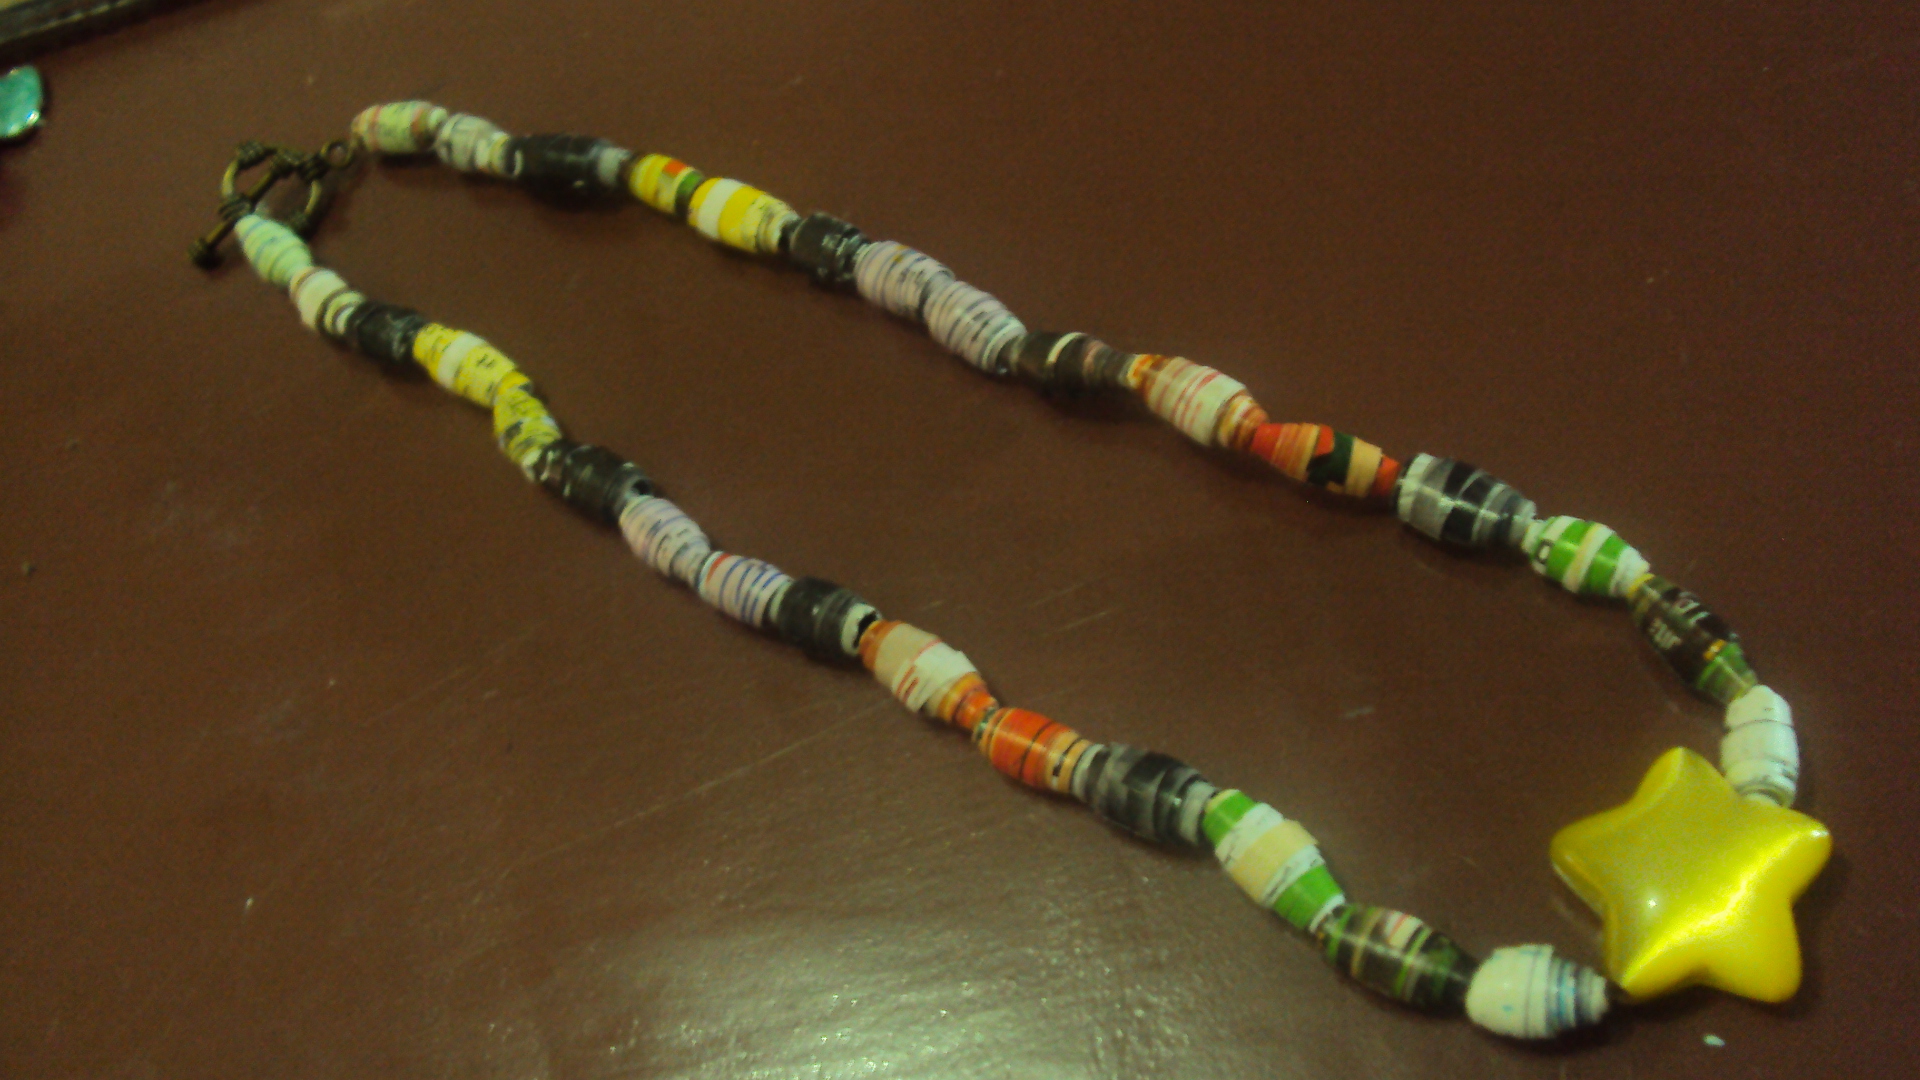
The paper necklace we made. I donated my star semi-precious stone to Firstborn. He suggested that we use it as a pendant. We bought the hook at The Expressions.
We were done with firstborn’s project, but it’s a shame though to submit the paper accessories in a plastic thus we made a necklace case.
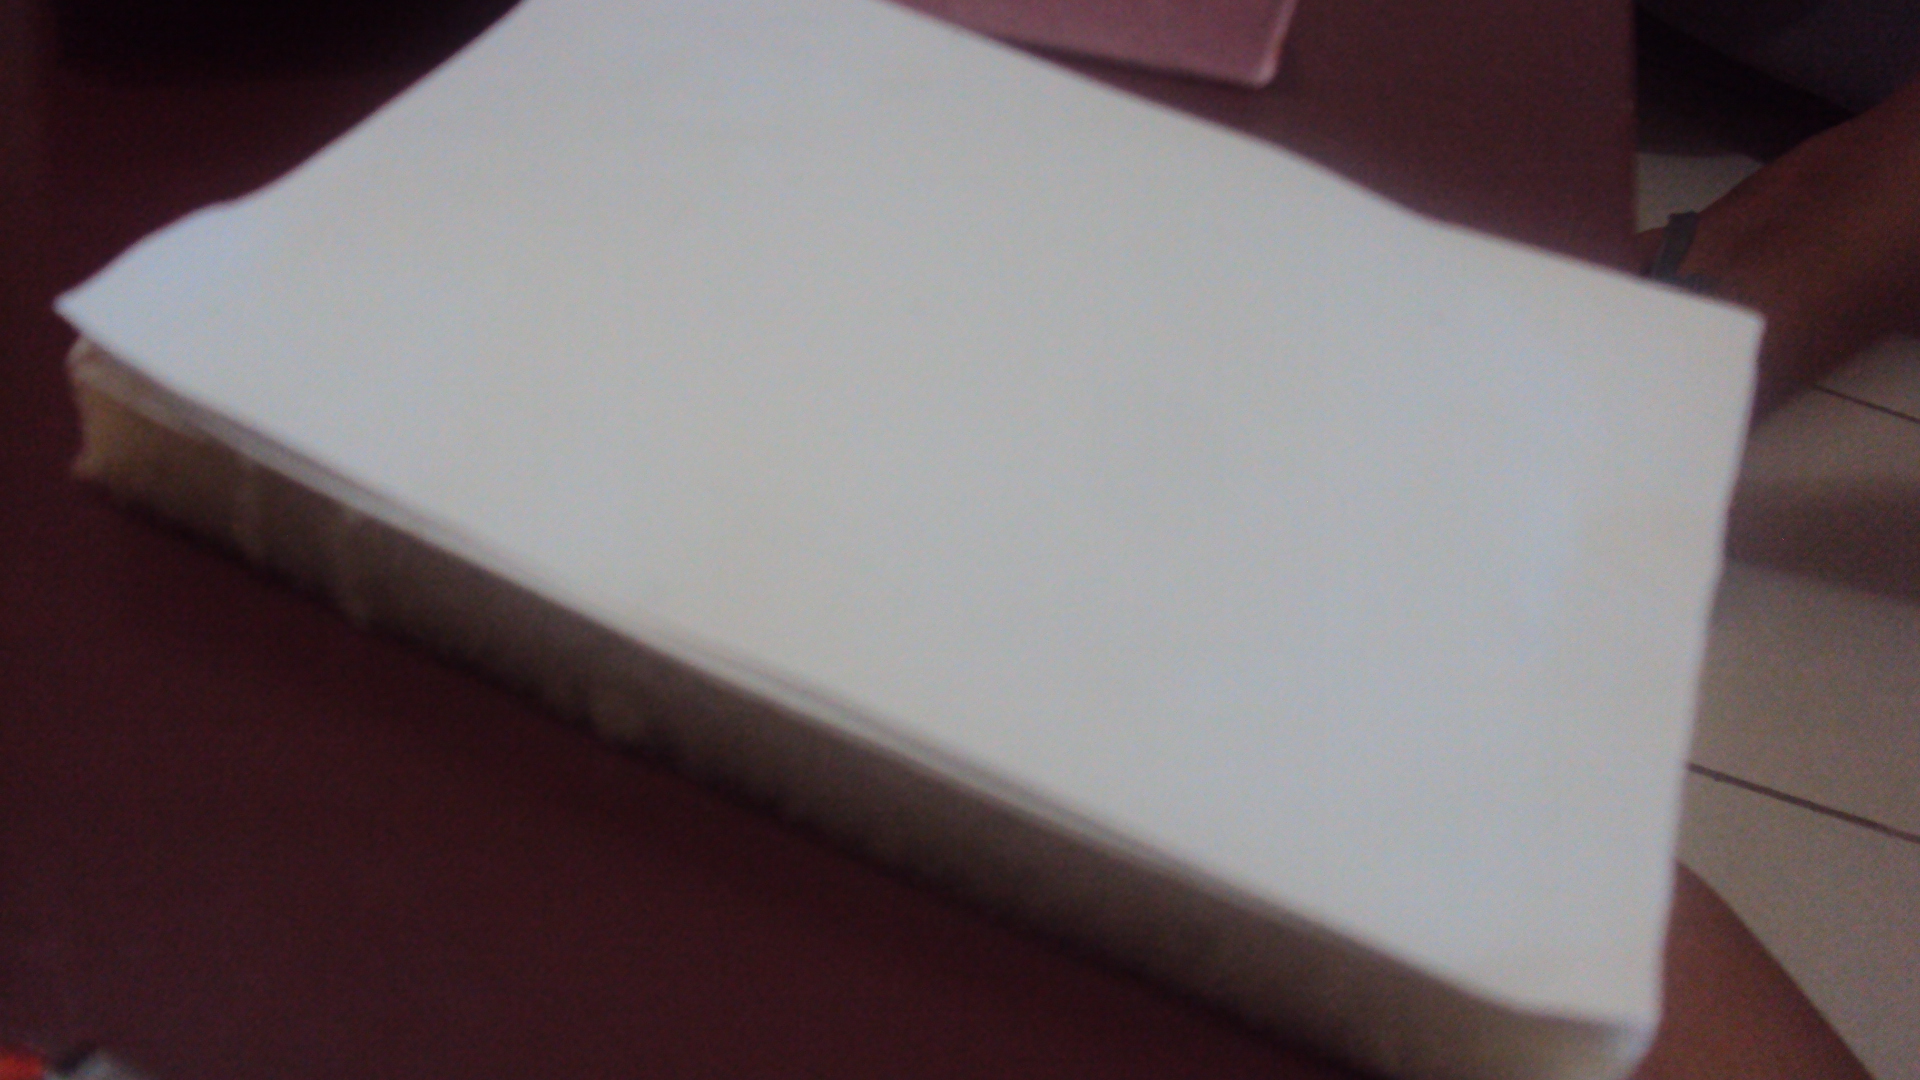
Luckily, we have small boxes in our craft drawer. We cut a foam, covered it with a coupon bond and made it as the “bed” for our accessories — just like the usual thing we see in jewelry stores.
The children encouraged this mother that they make more necklaces and bracelets and sell them after. I told them that we need to polish our work first and from there, we decide if we can make money from our paper accessories.
Hope you like the paper necklace and bracelets. It’s fun to make these with your kids so why not try it now!
Enjoy!
September 30, 2o12. This momi compiled and decided to share some of the school projects made by her boys. She believes that this school projects may help other students with their research. It has always been this momi’s intention to offer help the best way she can.






Wow! That looks pretty! Those beads doesn’t look like paper at all. Ang galing naman! If my daughter will see this, she’ll be amazed. I think that is paper quilling.. Ive attended an event before with my kids amd they made some earings out of papers.. Great job!
Learning new things everyday. So its paper quilling. Ihihi.
I always see those paper necklaces and bracelets on Pinterest before. I think this project needs a lot of patience to roll the paper. The project looks nice and you can really sell it. I’m sure bibilhin yan ng mga families and relatives, moral support agad yan. hehehe!
Hihi. Yes, patience is needed talaga. Though enjoy naman mag roll lalo na kapag the boys make kwento of what happened in school and other stories.
Nice! I want to try this also. My daughter is very kikay pa naman. To think she’s just 1 year and 8 months. Haha!
Haha. Kikay nga. Haha. Cute naman.
Oh, so nice! One wouldn’t believe that they’re made out of paper! Sipag naman ng boys mo. I’d think that boys would easily bore from such girly projects. Hehe
Haha. It was a school project kaya dapat gawin. They enjoyed it kasi may halong laro ang pagdidikit nila. Ihihi
wow those paper beads look great! What a terrific job. The nail polish at the end is a great idea to make it all sealed. What a great moment to spend with kiddos, and make memories.
Yup, enjoyed the time with the kids. Such a great bonding time.
Hi dear,
This is such an lovely thing to do for kids and creative people.
Very easy and cool!
Love , Tina
Thank you.
Uy, the kids are so creative! This one’s really nice ha. The charms added more style and elegance to it. gawin ng business ‘yan! haha. jk lang, pero in fairness, it didn’t look like papers at all! Really smart kids!
Thanks. Gawing giveaway sa pasko nehehe.
What a nice way to spend time with the family AND do something creative with loose paper around! DIYs are always fun. They don’t look like paper from afar though, which is nice.
Thank you. What I like best from this experience is the bonding time with my boys.
What a nice school project. Making things by hand is always so good. It reminds of when I was a teacher. Great post, the pictures are nice too!
Thank you. Love making school projects and helping the kids out. Recently though, the teachers are asking their students to make the project inside the classroom already so Im kinda missing that.
Omyyyy! This is awesome! From a far they don’t even look like paper hehe. I’ll definitely be sharing this with my little cousins 😀
Haha. They will surely love rolling those papers.
Wow this looks so cool! Like a new version of the BFF bracelets. Looks really great, congratulations!